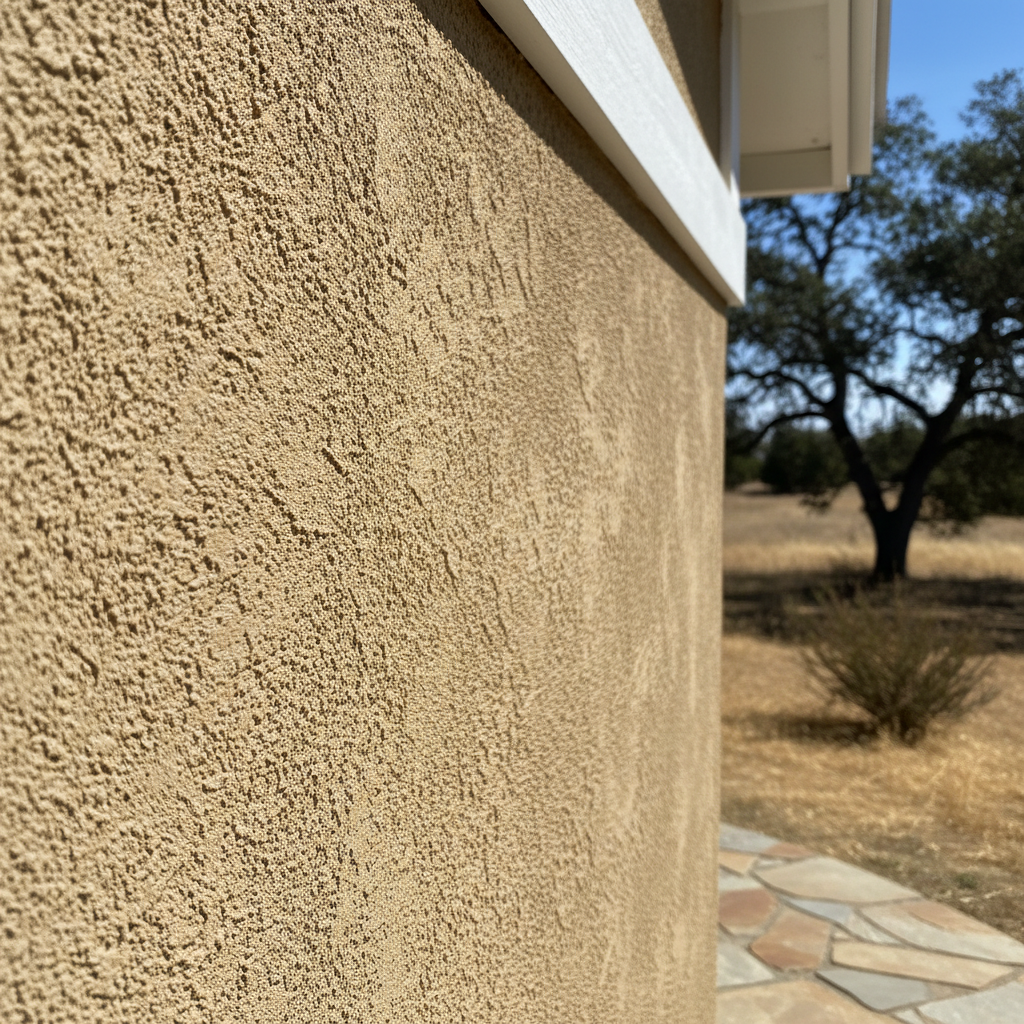
Thinking About New Stucco? Here's the Deal.
So, you're thinking about putting new stucco on your house, maybe an addition, or even just a small section. That's a great idea! Stucco's a fantastic, really durable finish, especially here in Southern California. It holds up well against our hot, dry summers and those occasional Santa Ana winds, you know? But before you grab a trowel and a bucket of mix, let's talk about what's actually involved. We'll cover what you can realistically do yourself versus when you absolutely need to bring in a pro.
I've been doing this for years, and I've seen homeowners try to tackle stucco projects of all sizes. Some do okay on small patches, but a full installation? That's a whole different ballgame. It's not just about slapping mud on a wall; it's a multi-layered system. And it needs to be done right if you want it to last and truly protect your home.
Before You Even Think About Mixing
This is where you, the homeowner, can really do a lot of the legwork. Planning is absolutely crucial. First, figure out exactly what you're stuccoing. Is it a whole house? A new garage? Just a repair? The scope dictates everything, right? Next, research your local building codes. Fullerton, like any city, has specific requirements for stucco installation. This is especially true for things like weep screeds, flashing, and how the lath gets attached. You definitely don't want to get halfway through and find out you're not up to code. That's a headache, and an expensive fix.
Think about the type of stucco you want, too. Traditional three-coat stucco is pretty common, but there are also one-coat systems and synthetic options (EIFS). Each has its own application methods and benefits. For instance, if you're matching an older home in the Sunny Hills area, you'll probably want a traditional three-coat system. That's how you get that authentic look and feel. And colors and textures? Get samples! Don't just pick a color from a tiny swatch; see how it looks on a larger board in different light conditions.
Finally, and this is a big one: honestly assess your own skills and the time you have. Are you genuinely handy? Do you have experience with masonry or plastering? Stucco work is physically demanding, no doubt about it, and it requires a good eye for detail and consistent technique. If you're not sure, be honest with yourself. It's better to admit it upfront than to end up with a wavy, cracked mess, wouldn't you agree?
The Installation Process: Where DIY Gets Tricky
Alright, let's break down the actual work. A proper stucco installation involves several critical layers:
- Sheathing & Weather Barrier: This is the foundation. You'll have plywood or OSB sheathing, then a weather-resistive barrier (WRB) – usually two layers of Grade D building paper or a synthetic equivalent. This is your primary defense against water. Getting this wrong means water can get behind your stucco, leading to rot and mold.
- Lath: Metal lath (chicken wire or expanded metal) is stapled over the WRB. This gives the stucco something mechanical to grab onto. It needs to be installed correctly, with proper overlaps and fasteners, or your stucco won't stick right and could crack or delaminate.
- Accessories: Weep screeds at the bottom, casing beads around openings, corner aids – these are all essential for proper drainage, clean lines, and durability.
- Scratch Coat: This is the first layer of stucco mix. We apply it right to the lath, then scratch it horizontally to create a rough surface for the next coat to bond to.
- Brown Coat: The second layer. This builds up the thickness and gets screeded to a flat, even surface. This is where you really establish the plane of your wall. Any imperfections here will definitely show through the finish coat.
- Finish Coat: This is the visible layer, where you get your color and texture. It's applied thinly and requires a skilled hand to achieve a uniform appearance.
Now, what can you do yourself? You can absolutely handle the sheathing and maybe even the weather barrier if you're meticulous. Some homeowners can manage the lath, but getting it perfectly flat and secure, especially around windows and doors, is harder than it looks. The actual mixing and application of the scratch, brown, and finish coats? That's where I'd say 99% of homeowners should call a professional. It's an art and a science, honestly.
The consistency of the mix, the pressure of the trowel, the timing between coats – these are things you learn through years of experience. I've seen DIY jobs where the stucco is too thin and cracks easily, or too thick and sags. I've seen uneven textures, inconsistent colors, and poor adhesion because the layers weren't applied correctly. A bad stucco job isn't just ugly; it can compromise the integrity of your home.
After the Stucco is On
Once the stucco is up, whether you did some of it or hired Fullerton Stucco & Plastering for the whole thing, there's still some work to do. Curing is critical. Stucco needs to cure slowly and consistently to gain strength and prevent cracking. This often means misting it with water for several days, especially during our hot, dry spells. Don't skip this step! It's an easy one for you to manage.
Then, it's about ongoing maintenance. Keep an eye out for cracks, especially around windows and doors. Seal any small hairline cracks with an elastomeric caulk designed for stucco. Keep your gutters clean and ensure proper drainage away from your foundation. Don't let sprinklers constantly hit your stucco walls, as this can lead to moisture issues and staining over time.
For bigger cracks, delamination, or signs of water intrusion, that's when you call us. Catching problems early and repairing them can save you a lot of money down the road. Stucco is incredibly durable, but like anything, it needs a little care to stay that way.
So, while you can definitely get involved in the planning and preparation, when it comes to the actual application of the stucco, trust me, it's usually best left to the pros. You'll get a better, longer-lasting result, and you won't have to spend your weekends trying to fix a wavy wall.